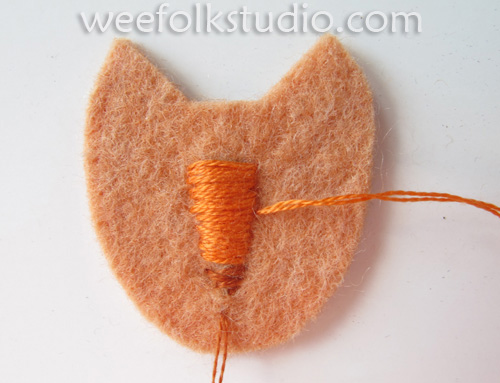
This project is from the first edition of my how-to book, Felt Wee Folk: Enchanting Projects. I showed how to make the cat pin on HGTV’s The Carol Duvall Show soon after the book came out in 2003. Here are the same pieces we used in the step-by-step demonstration on the show.
Find out about books I’ve illustrated with fabric relief here. See more cats I made of felt in an earlier post here.
Living without TV, I was unaware of the numerous cable craft shows and was unfamiliar with this new term “tutorial” on the internet. I’m slowly crawling out of my peaceful sewing room, but question how a person can both do their creative work and keep in touch with the vast sewing/fibers network! I suppose, like everything, it’s a question of balance. I hope that you enjoy this cat pin project and use it as a launching pad for other ideas of your own. You can read and see earlier posts about my pin business here.
FELT CAT PIN: To complete the project, you’ll need to understand how to do a blanket stitch, chain stitch, satin stitch and fly stitch.
Materials: 1″ pin back, pinking shears, embroidery needles, 2 green glass beads (about 1/4″), embroidery floss: black, brown, orange, gold, light green, wool felt: 2-1/4″ x 2″ pink, 1-1/2″ x 1-3/4″ blue, 1-1/4 x 1-1/2″ orange
 Step 1. Cut out shapes from wool felt: orange for cat, blue for the middle layer and pink for the bottom layer.
Step 2. Sew the pin back to the bottom layer with floss or sewing thread.
Step 3. Satin stitch the cat’s nose with double strands of orange floss. With brown floss, stitch the bottom end the cat’s nose.
Step 4. Stitch the mouth and whiskers with double strands of brown floss. Sew the green bead eyes onto the cat face with black floss, stitching vertically to make the eye’s pupil. Stitch an outline around the bead eyes with a single strand of brown floss. With a double strand of gold floss, use a fly stitch to make cat’s stripes.
Step 5: With double strands of orange floss, stitch the cat face to the blue middle piece, blanket stitching all around the outside edge of the cat face
Step 6. With a single strand of light green floss, chain stitch the curly queue on the blue felt, above the cat face. Then, with double strands of light green floss, blanket stitch the blue middle section onto the pink piece.
Step 7. With sharp picking shears, trim around the outside edge of the pink felt piece. You’re finished!


Wow Salley,
This is adroable and I shared it on Craft Gossip Felting woth my reader. http://felting.craftgossip.com/2010/03/14/felt-cat-pin-tutorial-from-salley-mavor%e2%80%99s-felt-wee-folk-book/
Linda
lovely and clear Thanks!!!!!
I love this! Your work is beautiful!
Aww, I love this so much! I’m going to do this and attempt to make it look like my kitty. =) I just clicked over from Craft Gossip. I would love to link to this if you didn’t mind.
Sure Rachel! It’s nice of you to visit and have fun making the kitty pin.
Thank you. I remember seeing this on the Carol Duvall show. What a shame that now there are no more craft shows on TV, cable, satellite or otherwise.
Is that right? Are there no more shows? I’m so out of the loop. Maybe the web and blogs are the new venues for crafts. It’s funny that this technology has spurred on the handmade revolution!
Thanks ! This is such a cute cat pin… love it !
LOVE this! Would it be too dorky to say it is “purrrfect”? Anyway, ’tis cute and I’ll be linking 🙂
This is the cutest dang thing ever! I need to make one of my baby ASAP
Just ordered your wee folk book! Can’t wait to get it. Are you going to do any books other than fairy tales? I love the embroidary!
Very nice cat pin!! i love it!
I love this type of felt craft – thank you again for sharing your designs.
This is super neat, I couldn’t help include it in my top ten cat diys!
http://iusedtobescaredofcats.blogspot.com.au/2013/03/cute-cat-diy-porjects.html
And this is just a small sample of what is in Salley’s book, if you don’t mind me saying Salley:-) I love this book. It gave me so much inspiration to make little fairies and their clothes for my grand-daughters (and I confess, me, too:-) ).
wow! love it!